The Weekend Project: Wine Bottles as Lighting Fixtures
Feb 24, 2022
1914 views
Getting crafty on a weekend is a sure-fire way to spend the two days off of work productively and at the same time enjoyable. Nothing beats working with your hands to produce something that can be displayed in your house and can be used for practical purposes. Sure, there is already an abundant supply of these crafts online and at specialty stores, but what makes these special? If they weren’t gifted to you by a dear friend or family or special someone, these crafts wouldn’t hold meaning to you. But if you make them yourself, not only do you unlock another skill, but also giving them as gifts will be more than appreciated by the receiver because he knows that you have poured your time and energy into making these. And the thought that you are making something special will melt hearts anytime.Aside from the above-mentioned reasons, what we love about crafting is that you do not need to spend a ton of dollars on your materials. Most of the things you need in these crafts are what you already own at home. Plus, it is a great way to upcycle as to not contribute to the daily wastes produced in your household.
Wine Bottle Crafts
Been saving your empty wine bottles because they look pristine and classy? Well then, here are sample wine bottle crafts that you can make.
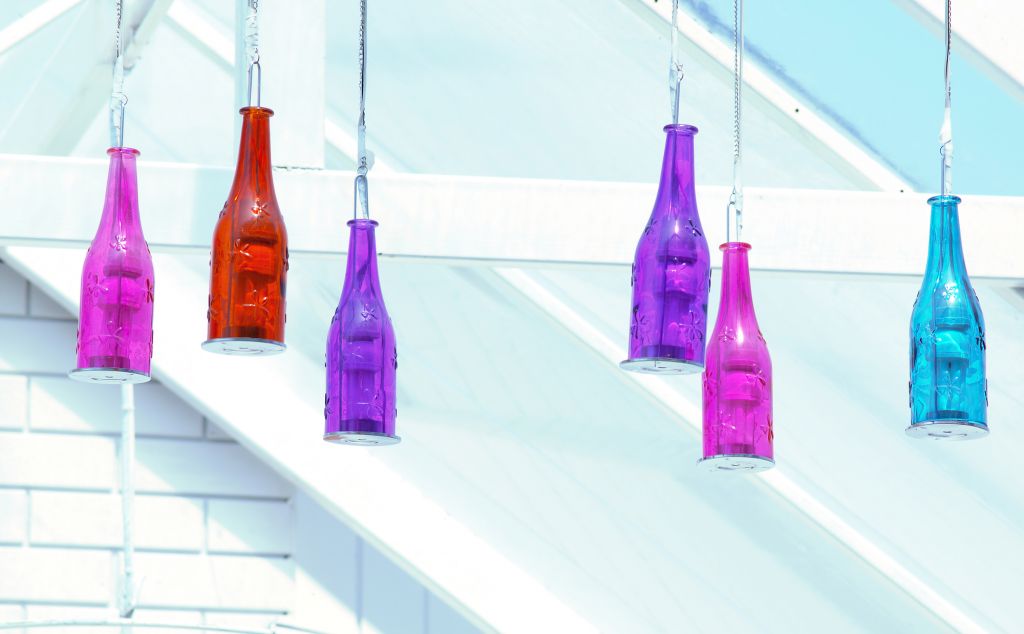
Wine Bottle Chandelier
Yes, you read it right. Wine bottles can make a pretty chandelier. But with this craft, you will be needing special skills because you will be doing some bottle cutting and electric wiring. Are you not confident to execute these? Better ask someone with experience and tools to help you out.What you need:
Wine bottles (cut into the size that you prefer)
Non-stick craft mat (wax paper will do)
Craft knife
Modge Podge
Food Coloring (to add color to your Modge Podge)
Pendant light kits
How to:
Choose a color palette for your chandelier. Then, add the color of your choice to the Modge Podge.
Squeeze the colored Modge Podge into the cut end of the bottle.
Let the color spread throughout the inside of the bottle by twirling it. Tap against your wrist if you find it hard to let the color flow.
Drip the excess back into the Modge Podge container and save it for another bottle or project.
Dry the bottle by placing it on the non-stick craft mat or wax paper, with the wider opening out in the open. Dry overnight.
Next will be the wiring. Cut the wire at the socket side of the switch, leaving about two feet of wire to the socket base.
Insert the wire through the bottle and out the neck of each bottle, with the sockets fitting snugly up in the taper of the neck.
Peel the plastic coating of the ends of each of the wires.
Finally, mount the wine bottle chandelier onto the existing junction box and cover plate from the old light in the ceiling.
Wine Bottle Lanterns
If chandeliers are too hard for you to make but want a product of the same effect, then the easier variant is making wine bottle lanterns. They’re easy to make, but pretty to display anywhere in the house. And now that spring is sitting around the corner, afternoon talks on the porch are made even more special. Trade those candles with the chic lanterns.What you need:
Wine bottles (clear, if you have them)
Mod Podge Gloss
Tissue paper (cut into shapes)
White spray primer
Scissors
Paintbrush
Battery-operated LED lights (that can fit the bottle of your choice)
How to:
Wash the wine bottles clean and let them dry. Make sure to remove all traces of alcohol.
Cut the colored tissue paper into shapes of your choice. If you have shape punchers, you can use them as well.
Brush a layer of Mod Podge Glass onto the bottle.
Press down the cut shapes. Smooth down the paper. Let it dry for 15 to 20 minutes.
Apply another layer of Mod Podge as a topcoat. Then let it completely dry.
Then, attach the LED lights. Now, see them glow.
This project is so easy to make that it can be made as accessories and decors for intimate parties at home.
The price is $259.99.When working on these projects (or any project for that matter), the first thing that you will be looking for is a worktop that can handle all your materials and activities. You would want a wide worktop, a sturdy surface that is scratch-free especially if you are working with sharp tools, stable and adjustable legs to balance the workspace, and of course, a welcoming addition is a built-in drawer to keep the materials that you often use.Designed with high-quality craftsmanship, the durable frame of this workbench is made of cold-roll steel. It has a convenient built-in storage drawer that is embedded in the worktop. The pull-out drawer provides seamlessly integrated storage space for your workshop supplies. The modern design blends in perfectly while keeping your belongings out of sight and neatly put away.The work surface is free of scratches and chips due to its material. It is made of 1-in thick rubberwood that is sealed with varnish. As it is understandable that garage workshops tend to be on the heavier side of activity, and the materials and tools used are mostly made of metals and carries heavyweight, protecting the worktop is a feature that is made especially to last the wear and tear of things.Garages, oftentimes, have uneven flooring. So, to be able to enjoy a stable work surface, the workbench has adjustable feet to make it easy to level the workbench as deemed fit.The WB201 is an all-purpose workstation that is suitable for many purposes–both commercial and personal. It is fit for use in your home space, garage, warehouse, mailroom, basement, workshop, or office.
 Aside from the above-mentioned reasons, what we love about crafting is that you do not need to spend a ton of dollars on your materials. Most of the things you need in these crafts are what you already own at home. Plus, it is a great way to upcycle as to not contribute to the daily wastes produced in your household.