


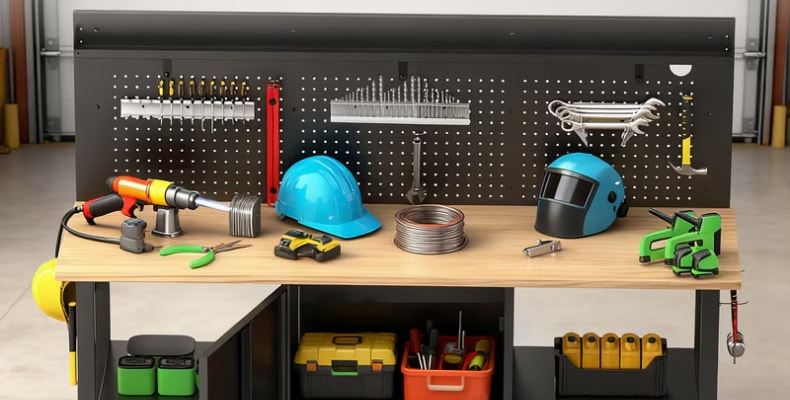
A good workbench can change the way a project feels. A rough piece of wood becomes a shelf. A pile of hardware becomes a useful fixture. A half-finished repair finally gets the space and attention it deserves. But even the best workbench can become crowded, cluttered, or awkward when your projects grow more ambitious.
The answer is not always buying a bigger bench. Sometimes, the smarter move is to improve the one you already have.
Small upgrades can make a workbench more comfortable, organized, and efficient. Better storage keeps tools within reach. Extra surfaces create room for parts and materials. A well-planned accessory system helps keep the work area clear without forcing you to stop every few minutes to search for something.
For hands-on DIYers, these details matter. When your workspace works with you, your attention stays where it belongs: on the project. Here are five smart workbench upgrades worth considering when you want to make your workshop more capable without making it more complicated.
Turn Empty Wall Space Into Useful Storage
Look around a typical workshop and you may notice something interesting. The floor is full, the workbench is covered, yet the walls are doing very little.
Vertical space is one of the easiest places to add storage without taking away valuable working room. Pegboards, hooks, shelves, and accessory panels can move frequently used tools off the bench while keeping them visible and easy to reach.
A well-organized wall does more than make a workshop look tidy. It can change how you move through a project. Instead of opening drawers or digging through boxes, you can see what you need at a glance. That saves small amounts of time repeatedly, and those small savings add up during a long afternoon of building or repair.
The Fleximounts PEG-003B All-in-one Accessories Set 52" Version is designed around this idea. An accessory system gives tools and supplies a defined place while making use of vertical space. It can help turn an otherwise plain wall into an active part of the workstation.
The key is not to hang everything everywhere. Arrange tools according to how often you use them and group similar items together. Keep your most-used tools closest to the main work area. Less frequently used equipment can take the higher or farther spaces.
A smart storage system should make your tools easier to find, not simply give them somewhere else to disappear.
Give Your Workbench More Room to Work
A workbench can feel spacious in the morning and completely overwhelmed by lunchtime.
DIY projects have a habit of spreading. A drill appears beside a measuring tape. Screws collect near the edge. A piece of lumber takes up half the surface. Then you need somewhere to put the part you are working on, and suddenly the workbench seems much smaller than it did yesterday.
Creating additional workspace can make a surprisingly large difference.
One approach is to add a secondary surface or use an area beneath the main worktop more effectively. The goal is to separate different stages of a project. Materials waiting to be used should not necessarily occupy the same space where you are cutting, assembling, sanding, or repairing.
This kind of separation also helps reduce accidental mistakes. When tools, finished parts, raw materials, and hardware are mixed together, it becomes easier to knock something over, misplace a small component, or damage a completed piece.
Think of your workbench as a small production space. One area can handle active work, another can hold materials, and another can store tools temporarily. Even a modest amount of separation can make the entire bench feel calmer.
You do not need a massive workshop to create this structure. You need to make every inch work harder.
The smartest workbench upgrades often do exactly that. They create room not by adding a giant new footprint, but by helping you use the space you already have with greater purpose.
Make the Space Under the Bench Count
The area beneath a workbench is often treated as a place for whatever does not have a home.
A toolbox gets pushed underneath. A length of cable disappears into the darkness. Small containers gather dust beside old materials. Before long, the space becomes difficult to access, even though it may be holding some of the workshop's most useful equipment.
Under-bench storage deserves more thought.
One practical upgrade is a roll bar or similar accessory that makes it easier to organize and access items stored below or around the workstation. The Fleximounts WB3R-PTB Under-Desk Roll Bar For WB3RB is designed to add another layer of function to the WB3RB workbench setup.
The value of an under-desk accessory is not simply the storage it provides. It is the way it helps define an otherwise forgotten zone. When equipment has a designated location, it is easier to retrieve, return, and keep track of.
This is particularly useful for DIYers who regularly work with cords, tools, clamps, or other accessories that can quickly become tangled around the workspace.
A good rule is to store heavier or less frequently used items below the work surface while keeping everyday tools closer to hand. This creates a natural hierarchy. The things you reach for constantly stay within easy reach. The things you need occasionally stay available without taking over the main surface.
The space beneath a workbench may not be glamorous, but it can be incredibly useful when organized properly.
Improve Comfort Before You Improve Speed
DIY work can be physical. Hours spent measuring, drilling, sanding, assembling, painting, or repairing can put pressure on your back, shoulders, wrists, and legs.
That makes ergonomics an important part of a smart workshop.
Workbench height is one of the first things to consider. A surface that is too low can encourage you to bend forward for long periods. A surface that is too high may force your shoulders upward or make detailed work uncomfortable. The right height depends on the person and the task.
Different projects may also call for different working positions. Fine assembly work can benefit from a slightly higher surface, while heavier tasks may feel more natural at a lower height. If your setup allows flexibility, use it.
Lighting matters, too. Shadows can make small details difficult to see and can lead to poor measurements or unnecessary eye strain. A focused task light can help illuminate the exact area where your hands are working.
Comfort also comes from having enough space to move. Do not pack tools and equipment so tightly around the bench that every movement becomes an obstacle course.
A productive workshop should feel active, but it should not feel chaotic.
When your body is comfortable and your tools are positioned naturally, you can spend more time thinking about the work itself. Good ergonomics is not about making a workshop fancy. It is about making it sustainable, especially when a quick weekend project turns into a six-hour session.
Build a Workbench That Can Grow With You
The best workbench is rarely the one that looks perfect on day one. It is the one that continues to make sense as your projects change.
A DIYer might begin with simple repairs and gradually move into woodworking, metalwork, furniture projects, electronics, or home improvement. Each new interest brings different tools and different storage needs.
That is why modularity can be so valuable.
Rather than designing the entire workshop around one fixed arrangement, think about systems that can adapt. Accessories can add storage. Roll bars can improve the use of lower spaces. Pegboards can organize tools. Additional surfaces can expand the active work area when needed.
This approach also prevents a common workshop problem: buying more equipment whenever the existing setup becomes inconvenient. Sometimes the issue is not a lack of tools. It is a lack of organization.
Before purchasing anything new, look at the way you actually work. Which tools are always on the bench? Which ones are difficult to reach? Where do unfinished projects sit? Which materials constantly get in the way? Where does clutter appear first?
Those questions can reveal the upgrade your workshop actually needs.
A smart workbench is ultimately about flow. Materials should move easily from storage to the work surface. Tools should be close enough to reach without interrupting concentration. Finished pieces should have somewhere safe to wait. Waste should have a clear path out.
When those pieces fit together, the workshop begins to feel less like a storage room and more like a place built for making.
Make Every Inch of Your Workbench Work Harder
A workbench does not need to be enormous to be useful. It needs to be intentional.
The right upgrades can turn unused wall space into storage, create more room on the work surface, organize the area underneath, improve comfort, and give the entire setup room to evolve.
For hands-on DIYers, that can mean fewer interruptions and more time doing the work they actually enjoy. A cleaner workspace can sharpen attention. Better storage can make tools easier to find. A more comfortable setup can make long projects easier to handle.
The beauty of a smart workshop is that it does not demand perfection. It simply gets better with each thoughtful adjustment.
Start with the space you already have. Look closely at what slows you down. Then make small changes that solve real problems.
Because sometimes the smartest workbench upgrade is not a bigger bench. It is a better way to use the one already in front of you.


