 Working anywhere in the house like a nomad might be a burden for you as well as other family members, especially if you share space with the other residents of the house. Though working in different environments has its perks like one may find inspiration and renewed enthusiasm in the various working surroundings, the cons still outweigh the pros. Thus, I simply want a place I can call my own without constantly packing and setting up. So, after giving it some serious thinking (and beating my dad, who virtually owns the garage space), I decided to turn the area into my art studio.
It was a huge sense of relief to finally have my own room to express my artistic side. But this is coupled with excitement and self-doubt since I had no idea where to begin! Fortunately, my other artist friends guided me through the entire ordeal, making it simpler and more convenient for me to fulfill my goal of having my own art studio.
I want to start by stating that since I was not undertaking a significant renovation, I didn't have to obtain a construction permit. Only a few adjustments were necessary to transform the garage into my studio.
Working anywhere in the house like a nomad might be a burden for you as well as other family members, especially if you share space with the other residents of the house. Though working in different environments has its perks like one may find inspiration and renewed enthusiasm in the various working surroundings, the cons still outweigh the pros. Thus, I simply want a place I can call my own without constantly packing and setting up. So, after giving it some serious thinking (and beating my dad, who virtually owns the garage space), I decided to turn the area into my art studio.
It was a huge sense of relief to finally have my own room to express my artistic side. But this is coupled with excitement and self-doubt since I had no idea where to begin! Fortunately, my other artist friends guided me through the entire ordeal, making it simpler and more convenient for me to fulfill my goal of having my own art studio.
I want to start by stating that since I was not undertaking a significant renovation, I didn't have to obtain a construction permit. Only a few adjustments were necessary to transform the garage into my studio.
Back
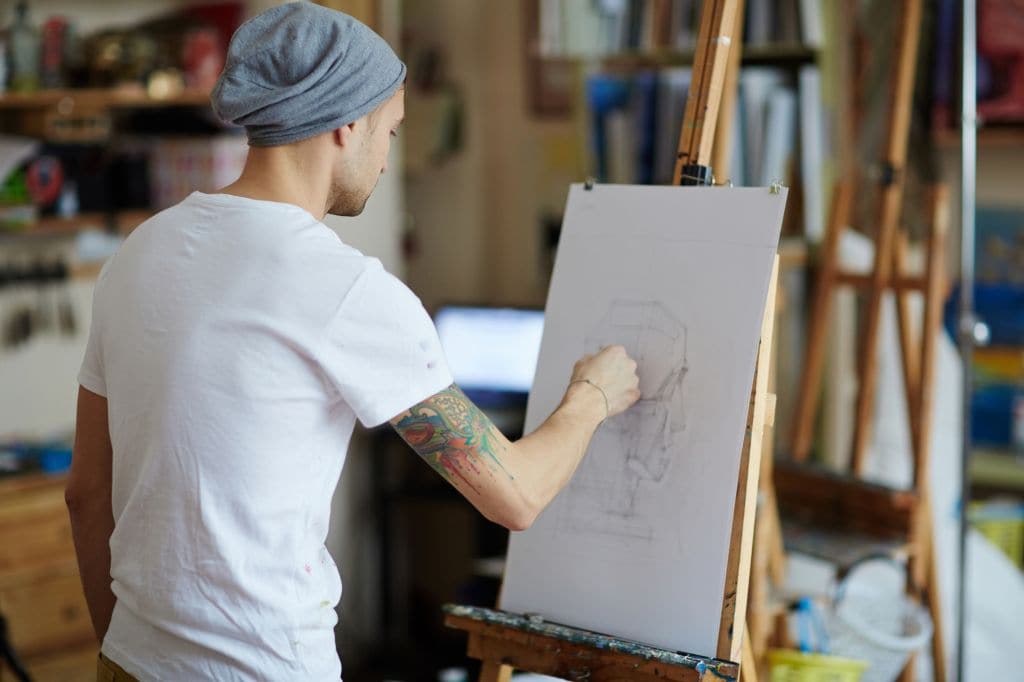
How to Set Up an Art Studio in the Garage
Sep 20, 2022
1695 views
My desire to establish a studio at home has always been strong. The other artists reading this could all nod and smile. One would understand fully, a designated area where I can keep all of my art supplies organized (or neatly spread, if that's even feasible, but you get the idea). It is a spot where I can leave them anytime I want to stop working on the artwork for the day and just pick it up again when I feel like it.
Working anywhere in the house like a nomad might be a burden for you as well as other family members, especially if you share space with the other residents of the house. Though working in different environments has its perks like one may find inspiration and renewed enthusiasm in the various working surroundings, the cons still outweigh the pros. Thus, I simply want a place I can call my own without constantly packing and setting up. So, after giving it some serious thinking (and beating my dad, who virtually owns the garage space), I decided to turn the area into my art studio.
It was a huge sense of relief to finally have my own room to express my artistic side. But this is coupled with excitement and self-doubt since I had no idea where to begin! Fortunately, my other artist friends guided me through the entire ordeal, making it simpler and more convenient for me to fulfill my goal of having my own art studio.
I want to start by stating that since I was not undertaking a significant renovation, I didn't have to obtain a construction permit. Only a few adjustments were necessary to transform the garage into my studio.
Pay with:![pay width]()
![pay width]()
![pay width]()
![pay width]()
![pay width]()
![pay width]()
Pay with:![pay width]()
![pay width]()
![pay width]()
![pay width]()
![pay width]()
![pay width]()