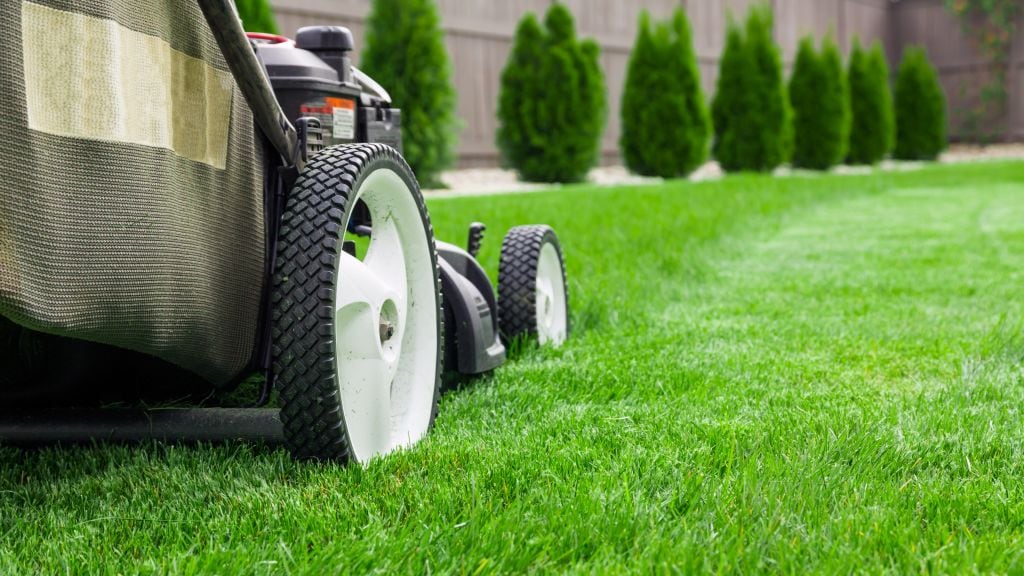
When the ice has melted down and the snow is gone, it signals the start of the spring season. This year it will officially begin on March 20 and end on June 21 in the United States. Once the season begins, it means there will be warmer weather, lots of spring cleaning, and yes taking out your tools for the yard.If you think the lawnmower is indestructible, then you are wrong. There should be steps done so you ensure that it will be up and ready to be used for the next three seasons: spring, summer, and fall. This includes keeping it in a spot at your garage where it is safe and easy to access. Moreover, when you add elbow grease to your lawnmower as early as now will help the equipment last longer.Do not wait for the new season to come over for you to take care of your lawnmower. We help you get ready in the article below. Note that these maintenance and storage tips could also be applied for other tools that are gas-powered such as your edgers and snowblowers. These power tools are all necessary to keep your yard clean and well-maintained.
Pump it with some gas
Leaving as in your lawnmower over the winter season may cause damage to it if your carburetor is rusty. But don’t worry, this doesn’t mean it will be beyond repair. Before you add new gas, power your lawnmower on while adding a fuel stabilizer to the tank of your lawnmower. Once done, turn it off and allow its engine to cool down. Siphon any gas that is left in a gas can that is clean. You could also use it to top off your car if the gas wasn’t mixed with oil.Afterward, you can restart your lawnmower and let go of it until it stops. Do these steps repeatedly until such time that the engine won’t start.
Check if the carburetor is rusty
This is very important to do before you clean the gas tank of your lawnmower or even think of adding more gas, double-check the carburetor of your lawnmower first.If there are any issues with your carburetor, don’t panic. Most of these issues can be diagnosed when you start the engine. You can tell it is rusty if it won’t start right away. It may also be rusty if you’ve been pulling a lot already and you’ve left gas sitting on your lawnmower for the longest time. There is a high chance that the carburetor is rusty or gummy which means you would have to rebuild, repair, or replace it.You could do a double check on the status of your lawn mower's carburetor by shooting an aerosol lubricant or a carburetor cleaner into it. Once you’ve done that, yank the cord. You are most likely dealing with a fuel problem if the engine starts and then dies afterward.
When you have to replace the carburetor
From the engine of your lawnmower, locate the carburetor and remove it. Put it in a bucket or a large container so that you will be able to catch any leftover gas in it. Check if it is corroded by opening the bowl of the carburetor. You need to buy a new one if you see any corrosion because this is beyond repair.But even though you won’t spot any corrosion, you might still decide that it is up for replacement. Why? Because it will pretty much cost the same to repair this one and buying a new carburetor means you don’t have to exert any effort or labor anymore.
When you choose to repair the carburetor
But if you want to repair it, then these are the following items you need to have in your garage: a carburetor cleaner, carburetor rebuild kit, wire, plastic gloves, a 4-in-1 screwdriver, an adjustable wrench, clamps, needle-nose pliers, nut driver, an organic vapor respirator, and a socket/ratchet set.Now that you have the tools, it’s time to do some repairing. To maintain cleanliness, spread out towels in your workspace. Disassemble your lawn mower's carburetor slowly. Do not throw the old ones just yet and using the carburetor rebuild kit, match them with the new gaskets and O-rings. The kit may come with extra parts so just gently put these aside. Let the parts sit for an hour into a carburetor cleaner. Afterward, rinse all of them and make sure they have dried out. Install each part of the new carburetor before mounting it on the mower's engine.
Have the spark plugs disconnected
Again, this step should not be overlooked. It is highly important that the spark plugs on your lawnmower be disconnected first to avoid serious injury. When they’re connected, it may cause your lawnmower to just turn on, so before repairing anything, disconnect the spark plugs first.
Remove the blade and sharpen it
Get rid of the blade on the bottom with thick gardening gloves and a wrench. Then get a metal file and sharpen it. If it is damaged or worn out, take the blade to a repair shop. The expert eyes of a repair technician will tell you if it’s up for replacement or a sharpening method that is more heavy-duty such as using a bench grinder.You have to make sure it is balanced before you reattach the lawnmower blade. If in case one side of your blade is lower than the other side when you placed it on the balancer, then you need to sharpen the side that is lowered until you balance the blade out.
Change the oil
With the air filter and carburetor facing upward, change the oil. Have a tray or pan under it to catch the oil you are discarding. Remove the oil reservoir plug and tilt your mower to the side to drain the reservoir of oil. Once it has drained out, replace the plug.
Safely tuck away your lawnmower
It’s dangerous to have lawn mowers when you have children and pets. They could even damage your car when you take them out and back again into your garage. This is why it’s safe to use a ceiling type of storage solution for items that you use every day. Check out smart storage solutions or the overhead garage storage racks of FlexiMounts where you could store your lawnmower.
 Pump it with some gas