 Some might not give the effort because they think it will take so much of their time. This is far from the truth because it won’t really require a drastic change for you to want to spend more time in the garage. You could transform the functional space in an instant by simply painting it.
Before diving into the painting job, you have to prepare the garage walls first to yield better results.
The first is to put down everything that is hanging on the walls and move your possessions away from the walls. Determine what area you’ll paint and cover the walls that you wouldn’t.
The second is that you have to make sure that ventilation is proper for painting. Painting has fumes that may cause health hazards if you breathe in them for too long so before beginning your painting project, check the ventilation first.
The third is to clean the walls. Garage walls are most likely to be dirtier than the rest of your house. If left neglected for months, it won’t be a surprise if you find cobwebs, dust, dirt, oil stains, and water damage that have accumulated on the walls. Clean all of these first because you don’t want the stains to bleed through your fresh coat of paint.
It’s recommended to clean it with a Shop-Vac or broom then wash it with water and dish soap.
Once dried, the fourth step is to prepare the surface, depending on the wall material. You may have to do extra work for walls that are not sheetrocked before they’re ready for painting.
Garage Smart suggests filling in chips, dents, and holes with drywall compounds before sanding them. If you have a brick wall, pick up a wire brush and borax. If concrete, fill the spotted cracks before cleaning the surface.
The fifth step to prepare the garage wall for painting is applying the primer. Again, this depends on the wall you’re going to paint. If it’s unpainted drywall, you need to look for a surface drywall primer, or PVA primer (polyvinyl acetate). The latter helps in ensuring that the paint will last and it also seals the pores in sheetrock. You need to prime because there is a tendency that the paint will soak into the sheetrock if not.
From the start, pick the best primer because it will save you time and cost.
If your garage walls are painted with latex paint, then breathe because you don’t have to prime anymore unless you’re going to work with a dark color. For stained areas, use an oil-based primer and leave to dry.
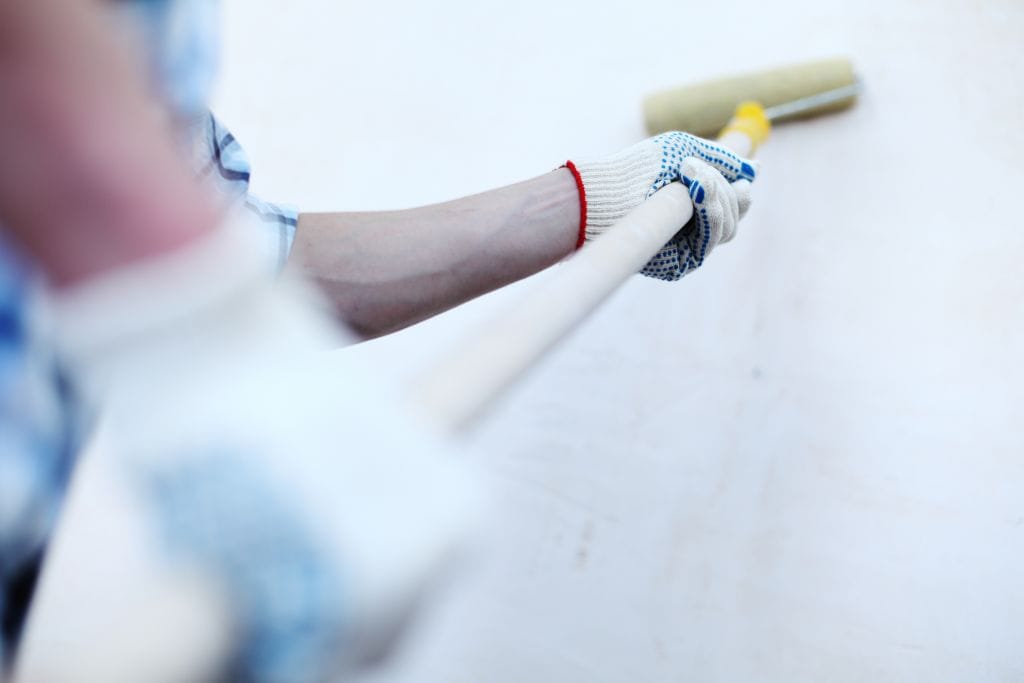
Once your walls are protected, cleaned, and primed, then it’s time to take the rolls out and paint.
For the best results, we listed down some painting tips:
Some might not give the effort because they think it will take so much of their time. This is far from the truth because it won’t really require a drastic change for you to want to spend more time in the garage. You could transform the functional space in an instant by simply painting it.
Before diving into the painting job, you have to prepare the garage walls first to yield better results.
The first is to put down everything that is hanging on the walls and move your possessions away from the walls. Determine what area you’ll paint and cover the walls that you wouldn’t.
The second is that you have to make sure that ventilation is proper for painting. Painting has fumes that may cause health hazards if you breathe in them for too long so before beginning your painting project, check the ventilation first.
The third is to clean the walls. Garage walls are most likely to be dirtier than the rest of your house. If left neglected for months, it won’t be a surprise if you find cobwebs, dust, dirt, oil stains, and water damage that have accumulated on the walls. Clean all of these first because you don’t want the stains to bleed through your fresh coat of paint.
It’s recommended to clean it with a Shop-Vac or broom then wash it with water and dish soap.
Once dried, the fourth step is to prepare the surface, depending on the wall material. You may have to do extra work for walls that are not sheetrocked before they’re ready for painting.
Garage Smart suggests filling in chips, dents, and holes with drywall compounds before sanding them. If you have a brick wall, pick up a wire brush and borax. If concrete, fill the spotted cracks before cleaning the surface.
The fifth step to prepare the garage wall for painting is applying the primer. Again, this depends on the wall you’re going to paint. If it’s unpainted drywall, you need to look for a surface drywall primer, or PVA primer (polyvinyl acetate). The latter helps in ensuring that the paint will last and it also seals the pores in sheetrock. You need to prime because there is a tendency that the paint will soak into the sheetrock if not.
From the start, pick the best primer because it will save you time and cost.
If your garage walls are painted with latex paint, then breathe because you don’t have to prime anymore unless you’re going to work with a dark color. For stained areas, use an oil-based primer and leave to dry.
Once your walls are protected, cleaned, and primed, then it’s time to take the rolls out and paint.
For the best results, we listed down some painting tips:
Back
How to Paint Your Garage
Jan 10, 2022
2502 views
We’ve said it time and again—it’s no surprise that the garage is often neglected. If you think about it, it’s ironic because the garage is home to the most expensive equipment you own including your cars, power and utility tools, camping gear, sports set, bikes, lawn equipment, and other prized belongings. Even then, the design of the garage looks underwhelming. There are areas with unfinished plywood and studs, drywall is taped, and the floor is left undone.
Some might not give the effort because they think it will take so much of their time. This is far from the truth because it won’t really require a drastic change for you to want to spend more time in the garage. You could transform the functional space in an instant by simply painting it.
Before diving into the painting job, you have to prepare the garage walls first to yield better results.
The first is to put down everything that is hanging on the walls and move your possessions away from the walls. Determine what area you’ll paint and cover the walls that you wouldn’t.
The second is that you have to make sure that ventilation is proper for painting. Painting has fumes that may cause health hazards if you breathe in them for too long so before beginning your painting project, check the ventilation first.
The third is to clean the walls. Garage walls are most likely to be dirtier than the rest of your house. If left neglected for months, it won’t be a surprise if you find cobwebs, dust, dirt, oil stains, and water damage that have accumulated on the walls. Clean all of these first because you don’t want the stains to bleed through your fresh coat of paint.
It’s recommended to clean it with a Shop-Vac or broom then wash it with water and dish soap.
Once dried, the fourth step is to prepare the surface, depending on the wall material. You may have to do extra work for walls that are not sheetrocked before they’re ready for painting.
Garage Smart suggests filling in chips, dents, and holes with drywall compounds before sanding them. If you have a brick wall, pick up a wire brush and borax. If concrete, fill the spotted cracks before cleaning the surface.
The fifth step to prepare the garage wall for painting is applying the primer. Again, this depends on the wall you’re going to paint. If it’s unpainted drywall, you need to look for a surface drywall primer, or PVA primer (polyvinyl acetate). The latter helps in ensuring that the paint will last and it also seals the pores in sheetrock. You need to prime because there is a tendency that the paint will soak into the sheetrock if not.
From the start, pick the best primer because it will save you time and cost.
If your garage walls are painted with latex paint, then breathe because you don’t have to prime anymore unless you’re going to work with a dark color. For stained areas, use an oil-based primer and leave to dry.
Once your walls are protected, cleaned, and primed, then it’s time to take the rolls out and paint.
For the best results, we listed down some painting tips:
Pay with:![pay width]()
![pay width]()
![pay width]()
![pay width]()
![pay width]()
![pay width]()
Pay with:![pay width]()
![pay width]()
![pay width]()
![pay width]()
![pay width]()
![pay width]()