Installation Guide: Fleximounts BR24 General 2-Pack 2′ X 4′ Wall Shelving
Mar 09, 2022
2170 views
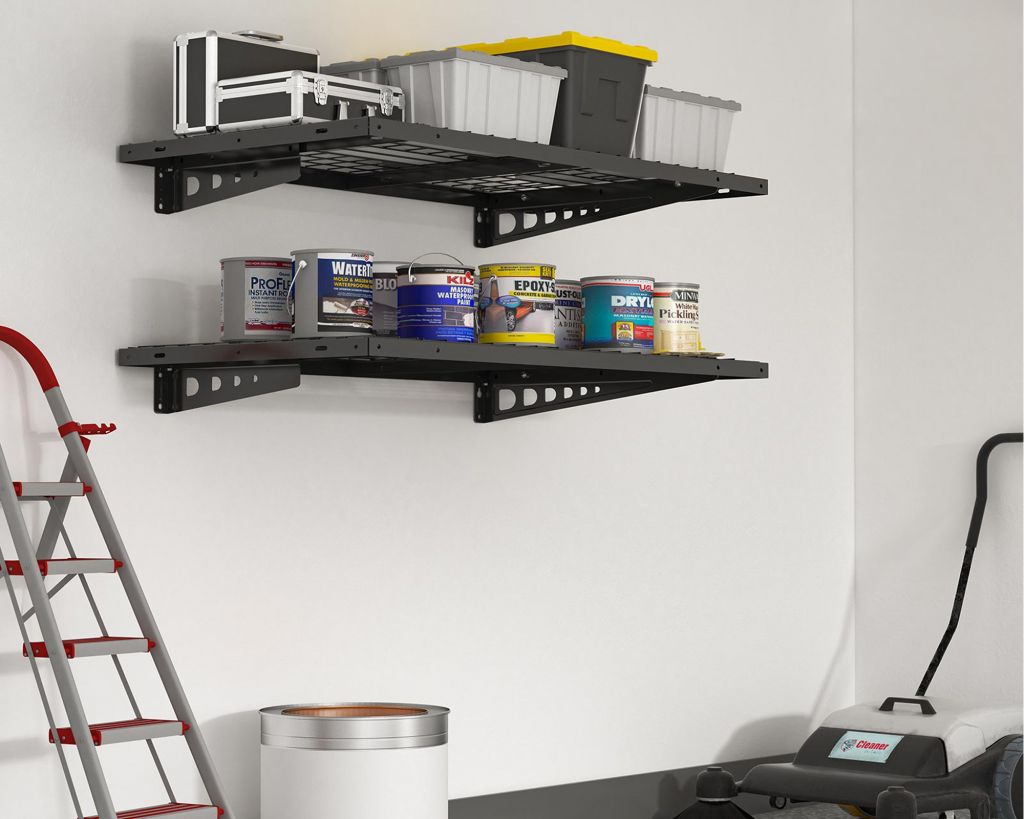
For your everyday items, the Fleximounts BR24 General 2-Pack 2′ X 4′ Wall Shelving is the perfect additional storage space for your walls. It can carry a load of 440 lbs total. The high-quality construction of its materials ensures a safe and high loading capacity.The one-piece integrated grid design, which is easy to assemble, brings needed stability and has proven to be more stable than multi-piece assembly shelves.It offers flexible installation as you can install the 2-pack wall shelf in parallel or vertical orientation according to your choice. Furthermore, the shelf's installation process would be a breeze as it is specifically designed to be done by one person. However, seeking help from a more experienced individual can ease the process. In the package, you will find all hardware and installation templates that you need. Also, the bubble level assists in getting a perfect horizontal location.
With the help of the Fleximounts GRH2/GRH2B hooks, The BR24 Wall Shelving can also be used as bike racks. The hooks can also accommodate tools, chairs, and other items that can be vertically hung.
What’s in the box
Here are the shelf parts included in the package:
4 pcs Shelf Wall Brackets
2 pcs Wire Grids
1 pc Reinforcing Plate
1 pc Installation Template
Here are the set of screws included in the package:
2 pcs M6 x 20 mm Bolts
8 pcs M8 x 16 Bolts
2 pcs M8 x 20 Bolts
2 pcs M6 Nut
8 pcs M8 Nut
1 pc 4 x 4 Hex Wrench
1 pc 5 x 5 Hex Wrench
1 pc Wrench
1 pc Level
1 pc M4 x 5
12 pcs St8 x 60 Tapping Screws
12 pcs 10 x 50 Expansion Pipes
12 pcs #8 Washers
Tools needed when installing the BR24
Installing the General 2-Pack 2′ X 4′ Wall Shelving is pretty easy as it is a do-it-yourself project. And it only needs basic equipment that is readily available in your garage toolbox.
Pencil
Pistol-Grip Drill or Hammer Drill
Screw Driver
Eye Protection
Ladder
Stud Finder
Tape Measure
Easy step-by-step guide when installing the BR24
Although assembling and installing this wall shelf is easy to follow using these steps, having basic knowledge of the tools and hardware will definitely help in finishing the process quickly and correctly.
Unbox the package. The box is rather heavy, so if you have a companion, you might as well seek help to unload the box on a sturdy workbench or on the garage floor.
Locate a corner in your garage where you want the corner wall shelf to be installed.
Assemble the reinforcing plate with one of the shelf wall brackets.
Tighten the reinforcing plate with an M4 x 5 screw.
Option 1: Attach the shelf wall bracket to wood studs.
For parallel installation, use the stud finder to locate the wood stud and confirm the suitable installation height. The distance of installation holes at 48 inches is suitable for stud distance of 16 inches or 24 inches.
Mark the mounting holes using the installation template and level.
Using a Pistol-grip drill, drill a 2.4-inch (60 mm) deep, 0.2-inch (5 mm) diameter pilot hole using a 3/16-inch drill bit at the center of each marked point.
Attach the three shelf brackets horizontally to the wall using tapping screws and washers, then tighten it with the screwdriver.
Use the reinforcing plate as the middle wall bracket.
Make sure that the shelf brackets are completely fixed on the wall without gaps to prevent property damage or personal injury.
For vertical installation, install two shelf brackets on the upper side and two on the lower side. Pay attention that the reinforcing plate needs to be installed on the left, either the upper side or lower side is fine. The distance of installation holes at 48 inches is suitable for stud distance of 16 inches or 24 inches. On the other hand, the distance of installation holes at 36 inches is suitable for a stud distance of 18 inches.
Follow the same steps as installing for parallel installation.
Option 2: Attach the shelf wall bracket to the solid concrete wall.
For parallel installation, confirm the suitable installation height according to your actual need. Mark the mounting holes using the installation template and level.
Using a hammer drill, drill a 2.4-inch (60 mm) deep, 0.39-inch (10 mm) diameter pilot hole using a 3/18-inch drill bit at the center of each marked point.
Attach the three shelf brackets horizontally to the wall using tapping screws, expansion pipes, and washers.
Tighten it with the screwdriver.
Use the reinforcing plate as the middle wall bracket.
Make sure that the shelf brackets are completely fixed on the wall without gaps to prevent property damage or personal injury.
For vertical installation, install the two shelf brackets on the upper side and the two on the lower side.
Pay attention that the reinforcing plate needs to be installed on the left, either the upper side or lower side is fine.
Follow the remaining steps as with the parallel installation.
Install the wire grids.
For parallel installation, start by attaching the wire grids to the shelf brackets.
Piece the two-wire grids together with 2 pcs M6 x 20 Bolts and 2 pcs M6 Nuts, 2 pcs M8 x 20 Bolts and 2 pcs M8 Nuts. Then tighten it with a 5 x 5 Hex Wrench and Wrench.
For vertical installation, begin by attaching the wire grids to both the upper and lower shelf brackets.
Connect the wire grids to the shelf brackets with 2 pcs M8 x 16 Bolts and 2 pcs M8 Nuts on each side. Then tighten it with a 5 x 5 Hex Wrench and Wrench.
Safety Precautions
First and foremost, the wall shelf is designed to be installed on a wooden or solid concrete ceiling. The wall must be capable of supporting the combined weight of the garage rack and your items. Never exceed the maximum load capacity of the product, which is 220 lbs or 100 kg, or else, it may result in product damage or injury. Otherwise, if the combined load exceeds the capacity, the structure and weight capacity of the ceiling must be reinforced.Second, make sure to completely read and understand the instructions before attempting to install. If you are unsure of any part of the installation, contact a professional installer for assistance. It is recommended for a minimum of two people to install the shelf to avoid property damage or serious injury.Third, as the package contains small items that could be a choking hazard or swallowed, keep these items away from young children and pets.Fourth, check the joint parts every two months to make sure that the screws have not loosened.And lastly, the shelf is intended for indoor use only. The use of this product outdoors could lead to product damage, or worse, physical injury.
 With the help of the Fleximounts GRH2/GRH2B hooks, The BR24 Wall Shelving can also be used as bike racks. The hooks can also accommodate tools, chairs, and other items that can be vertically hung.