Teaching is never easy. Hurdles and challenges are a big part of it. And when you start teaching a new skill–biking, in this case–to a kid, then prepare for the emotions to build up not only for you but for your kid more importantly. And when you successfully teach your kid how to independently ride the bike, it offers great rewards. Here are some helpful tips to have an enjoyable and safe bike ride.
Check if the bike fits properly
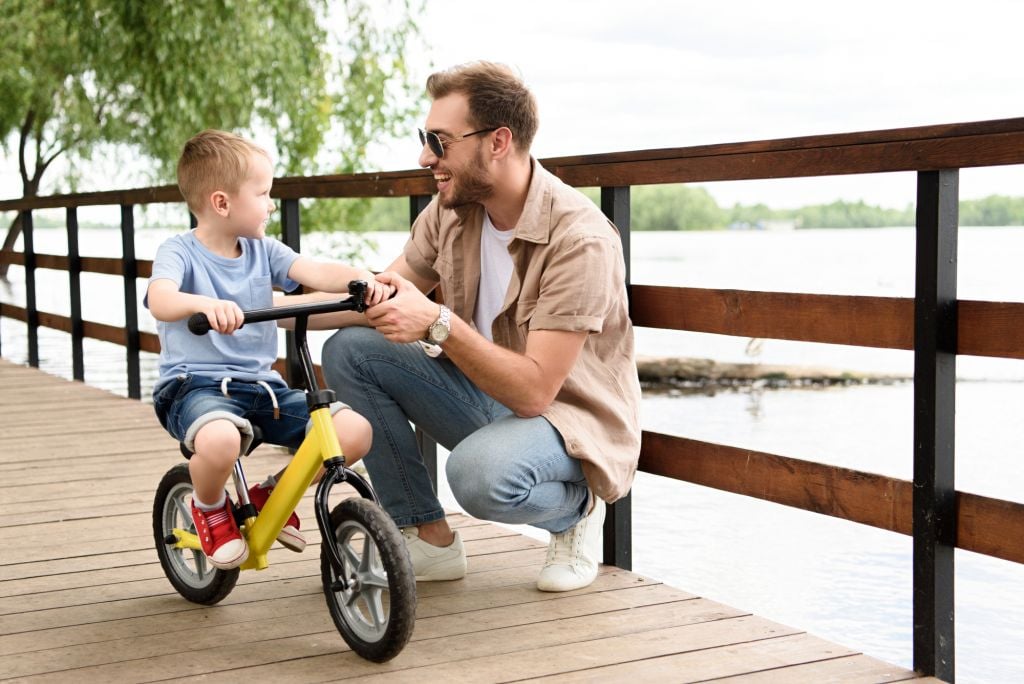
The wheel size of the bike is the starting point. The wheel size is the first thing that you should measure instead of the frame. It should start around 12 inches to 24 inches. The determining factor in choosing the wheel size is not the age, but rather the kid’s height, torso, and legs.Many would actually pick bigger bike sizes for practical reasons that kids will outgrow their current bike, however, safety should be the main consideration. As learning to ride a bike is also synonymous with frequent falling, bigger sizes would be harder for them to handle and control. If they can’t reach the ground easily, that could cause panic on the side of the child, which will probably injure him.The next thing that you should check is the distance of the bike seat to the handle bars. The child should reach the handle bars at a very comfortable level, without having the need to lean too forward. Also, make sure that your child can squeeze the hand brakes easily and properly.
Make sure that the kid wears proper gear for safety
Safety is the top priority when teaching a kid to ride a bike. So, it is important that he wears safety gear that will protect your kid from serious injuries, especially since it is expected that the first rides will most likely incur more falls than traveling significant distances without stopping.First off, check the helmet. The helmet should comfortably sit in the middle of the child’s forehead, no more than 1 inch above the eyebrows. If it is higher or moves when you push the helmet from front to back or side to side, better try a different helmet or adjust the size. Next, the side straps of the helmet should form a “V” under each ear. Lastly, make sure that the buckled chin strap should only be able to slip only one or two fingers between the chin and the strap.Next, also make your kid wear gloves, elbow and shin guards, and knee pads. He must also wear closed-to shoes and make sure that the shoelaces are tucked out of the way. Avoid letting your kid wear loose pant legs because it might get tangled with his feet and bike chains. And to protect their ankles in case they might smack the pedals and crank arms, let him wear long socks or pants.
Where to teach your kid
As learning to ride a bike requires roads, it is best to choose a place that is free of hindrances and surprises such as rough roads and speeding cars. You want your kid to concentrate on getting the basics right first. Starting the ride on the streets, even if it is just right in front of your house, is not recommended unless you live in an empty cul-de-sac. Better look for an empty parking lot, park, or trail. Make sure that the surroundings will make your kid feel completely at ease as he sits on a bike saddle for the first time.
We Recommend: Foldable Bike Hitch Rack
If unfortunately, your neighborhood does not offer an empty parking lot, park, or trail, why not explore nearby neighborhoods for the bike sessions. That would be a good start to condition the learning environment of your kid.And if your kid is ready to get onto the next level, then, it is time to conquer the roads on destination trails that are for beginners. Imagine a change of scenery from your usual metro, high-rise buildings, and car traffic.But the main concern is how to transport the bike to the destination. Unless you own a foldable bike or a pickup truck, it would not be a problem at all. However, subjecting your bicycle units by laying them out flat on the floor poses a danger to your bikes, especially if the road you will be traversing is rough. And if you are a family traveling, then the space wouldn't be enough.Investing in a sturdy and convenient bike hitch rack is the most plausible remedy that you can bank on. Now, transporting the bicycles would not be much of a hassle.
The Fleximounts BHR4 Flexible And Foldable Bike Hitch Rack are as durable as you want them to be. It is made of a cold-roll steel structure with a protective powder paint finish. It has anti-wobble knobs to strengthen the connection between the mainmast and folding arms. It assures you that the build will securely fix the bike rack in place, which would be our biggest worry when on the road. Frequent glances at the back of our car would be lessened with this rack as you will be at ease with its performance.The foldable bike hitch rack features a tiltable mainmast. The rack's body can swing up, down, forward, and backward, allowing more accessible bikes' lifting. The rack pops back to its original position with the anti-wobble knob.Moreover, its foldable arms are easy to move. So, when the rack is not in use, you can easily fold it back to safekeeping. The foldable arms won't also get in the way, even if installed in your vehicle.The Fleximounts BHR4 Flexible And Foldable Bike Hitch Rack are compatible with different sizes of bikes, which is perfect for group outings and if you own multiple types of bicycles. The rack has adjustable straps that can hold up to four bikes, and it can carry a weight of up to 165 lbs.
 Check if the bike fits properly